Table of Contents
Learn how a multi-function milk bottle washer can protect your bottle-fed calves from illness.
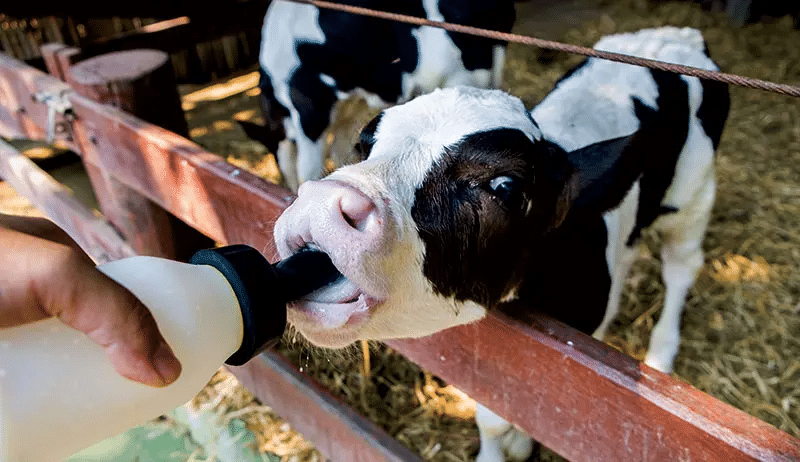
You agonize over the food choice, the best bottle, the proper nipple. But the work doesn’t stop once your calves are fed and happy. At least, it shouldn’t. Used milk bottles are the perfect environment for harmful bacteria, and proper cleaning is an essential, if time-consuming, component of proper care for bottle-fed calves.
Of course, every farmer has a protocol for ensuring calf bottles and nipples receive a thorough cleaning, but is yours as comprehensive as it could be? Well-washed calf milk bottles should be entirely free of organic matter and biofilms and completely dry – truly squeaky clean! The biofilms in which harmful bacteria thrive can be difficult to remove completely, however, and calves shed enormous amounts of pathogenic material in their manure; two factors that can add significant time and expense to your sterilization process.

Tools such as Bactoscan provide fast, reliable feedback about the state of calf feeding supplies, yet farmers often wait until calves show signs of illness to perform a rigorous inspection of bottles, nipples, buckets and other supplies. These delays offer a wide variety of bacteria, including staphylococcus, streptococcus and coccidia an opportunity to flourish. Rather than wait until calves show signs of illness, responsible farmers can invest in stopping outbreaks before they start by investing the time and equipment needed to guarantee a complete clean and sterilization of containers used to feed calves.
How to Wash a Calf Feeding Bottle
While every dairy farm and calf kitchen has its own protocols, minimum safety standards require that a responsible farmer follow five steps when washing and sterilizing calf feeding equipment. “Now, most farmers clean pails and bottles but many don’t clean effectively,” explains veterinarian Dr. Robert Tremblay.
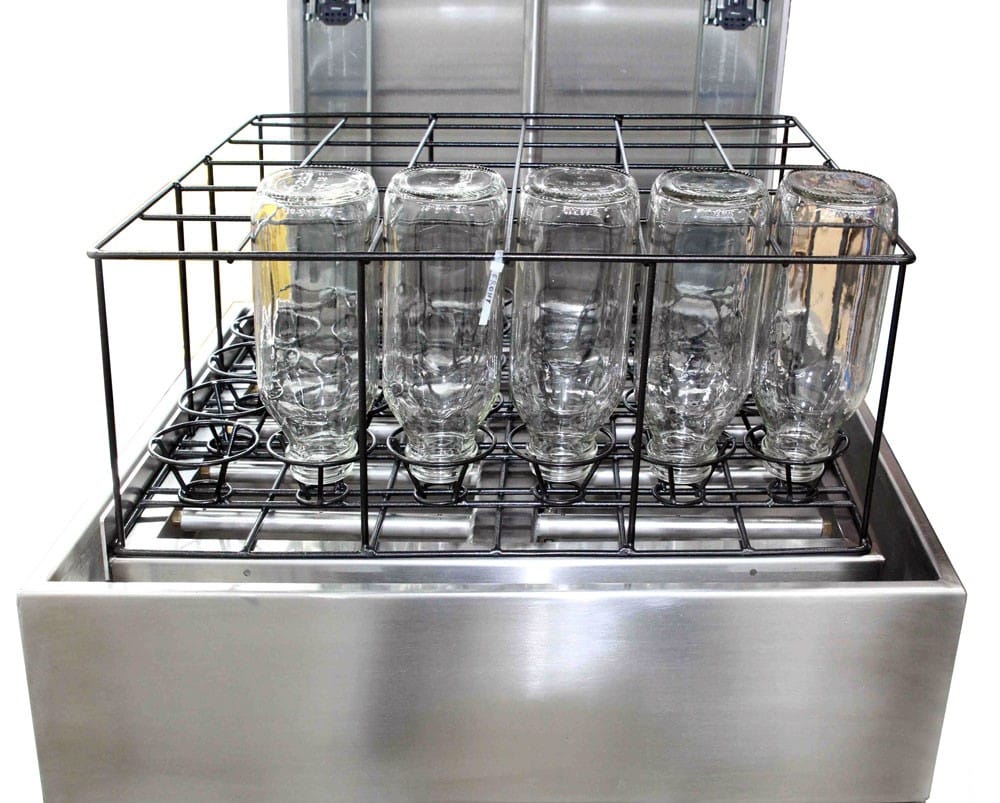
Depending on the size of your calf kitchen and the number of calves in your care, you may have the option of washing your bottles and nipples by hand using appropriate detergents. Even the most conscientious of farmers can miss the occasional spot, however. And, of course, the more calves in the pen, the more bottles you’ll need to wash, which can become incredibly time-consuming. At some point, other chores need to get done! Leaving bottles to soak in the sink and hoping for the best, however, simply isn’t an option according to Dr. Tremblay. In these cases, an industrial milk bottle washer may be necessary to handle the workload.
Whether you opt to handwash your calf feeding bottles or employ a especially-designed milk bottle washer, the cleaning process should include the following steps:
Rinse
Run milk bottles and nipples under a stream of warm water to remove milk residue. Ideally, right after feeding but certainly before any milk has had a chance to dry. Be careful to use only warm – not hot! – water to avoid cooking any milk proteins and bonding them to the bottle. Even after exposure to high heat, these proteins remain an attractive food source for bacteria, and can be extremely difficult to completely remove from the bottle surface. Check your rinsing water, and avoid temperatures over 120 degrees Fahrenheit or 49 degrees Celsius.
Soak
If you have the option, it’s best to proceed immediately from rinsing your calf feeding equipment to washing. In situations where you’ll need to wait a few minutes before washing, or when bottles are particularly dirty, you have the option to soak them in very hot water with a strong detergent such as what you might use for a clean-in-place system. Be sure the water exceeds 130 degrees Fahrenheit or 50 degrees Celsius and that soak time does not run longer than 30 minutes.
Scrub
This is the time for hot water – around 120 degrees Fahrenheit or 49 degrees Celsius. Grab those rubber gloves, goggles and protective gear! After an initial rinse to remove milk residue, it’s time for the deep clean. Wash milk bottles and nipples in hot water using a chlorinated detergent to eliminate bacteria, biofilms and other organic pathogens. Simply agitating soapy liquid inside the bottle won’t suffice, as this allows dirt and debris to redeposit themselves on the interior surfaces. You’ll need a good, stiff scrubbing brush to get the job done right.
Going the extra mile to guarantee an adequate clean, whether that means allocating extra time to the task or investing in specialized equipment, such as an industrial milk bottle washer, is absolutely essential. The efficacy of many disinfectants depends in part on the cleanliness of the surface to which they are applied, which means a careless wash can have far more harmful effects than just a bit of leftover grime.
Disinfect
Now that you’ve properly washed your milk bottles, it’s time to disinfect. Whether you opt for a pre-formulated industrial solution or mix your own, be sure to verify that your disinfectant contains the specific ingredients needed to combat the pathogens and bacteria that pose the greatest risk to your herd. A quaternary ammonium disinfectant, for example, does well when it comes to eliminating staphylococcus and streptococcus bacteria, but fails to eliminate coccidia, which requires ammonium hydroxide or a phenol, according to agriculture experts at Iowa State University.
Read any instructions carefully, and don’t skimp on the contact time! A solution of bleach and water, for example, needs a minimum of five minutes contact with a clean milk bottle to sterilize the surface.
Air Dry
Bacteria, as we all know, love warm, moist surfaces. Giving your milk bottles and nipples the opportunity to dry completely, therefore, is essential to preventing the growth of harmful microorganisms on stored equipment between uses. Resist the urge to stack buckets or store bottles upside down – the trapped vapor will prolong the drying time and potentially create a fertile environment in which bacteria can breed.
These simple steps, practiced correctly and consistently, go a long way towards protecting your calves from illness. In larger operations, formal training for employees on the proper protocol can help keep everyone up to date on best practices and technical innovations, as can maintaining a written checklist of steps to follow after every calf feeding.
